Simple Steps to Removing Basic Builder Grade Mirrors
SUPPLIES NEEDED:
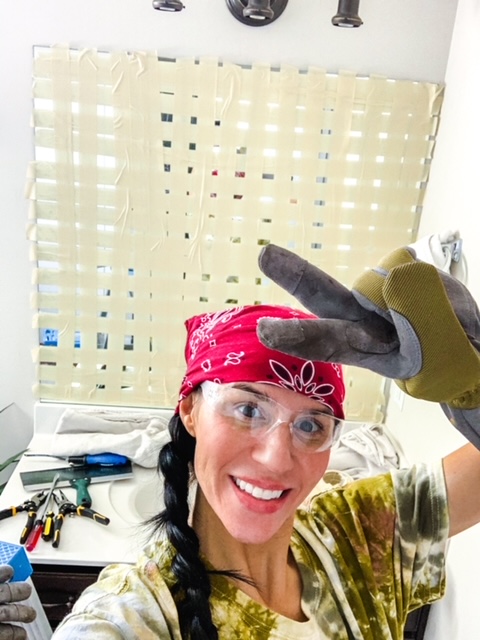
SAFETY FIRST: Safety glasses, long gloves, wear long sleeves
2 packages of wood shims
ladder
silence
a lot of patience
some prayers
kind loving talk to your mirror
towels, cloths or drop cloth
a partner to help out if possible
Drywall finishing supplies (joint compound, putty/taping knifes, sand paper)
1 ~ You need complete silence (you will need to listen for the adhesive as it removes)
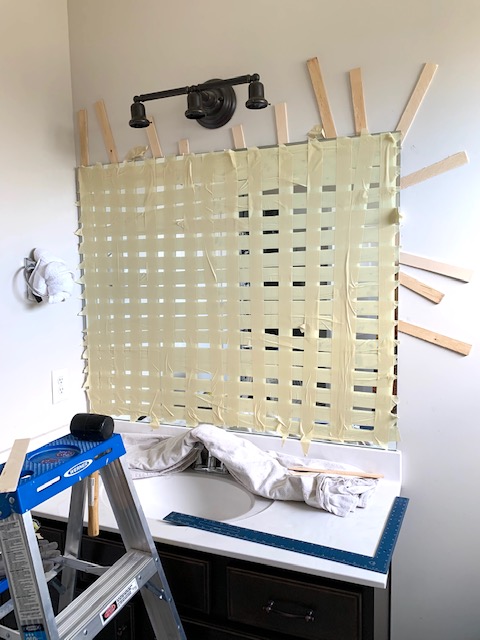
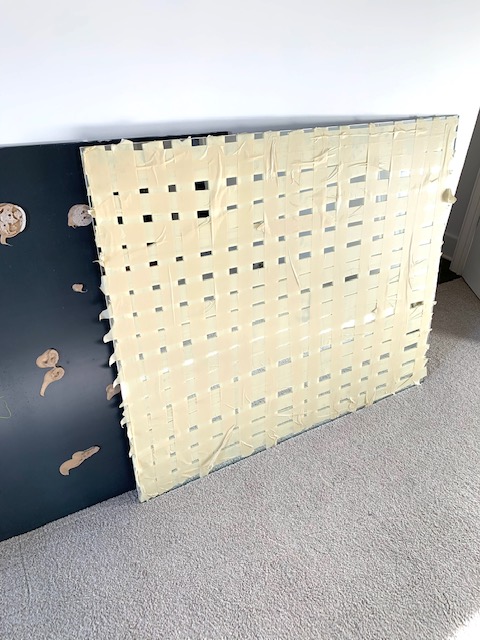
2 ~ Tape your mirror with masking tape (as pictured below). This does two things: One, its supports the mirror a bit and Two, it is an insurance policy in case there is any breakage.
3~ Remove any light bulbs or fixtures that may be in the way of the mirror coming off. Also remove any clips that might be securing the mirror at the top. The mirror will likely come off from top and fall forward. Also, cover any towel holders or anything else that it could come into contact with. Not a bad idea to lay a drop cloth on the floor, just incase there is any breakage. It’s all about placing these “insurance policies” I call them. Fail to plan and plan to fail.
4 ~ Place your shims (thinnest side first) into any crevice you can get them into around your mirror
5~ Wait for the crackling sound (this is the sound of the adhesive pulling off from the sheetrock/wall). If you do not hear the crackling, try pushing them in a little further. The goal is to also push them in evenly…. meaning don’t push them all on one side at once. Go back up to the top and push a few there, then go back to side(s). We are essentially “bending” the glass so we want to respect its integrity and go slow and steady.
6~ Be patient, this process takes some time, focus & patience. I have removed MANY mirrors with success and if you follow these steps you should be in great shape.
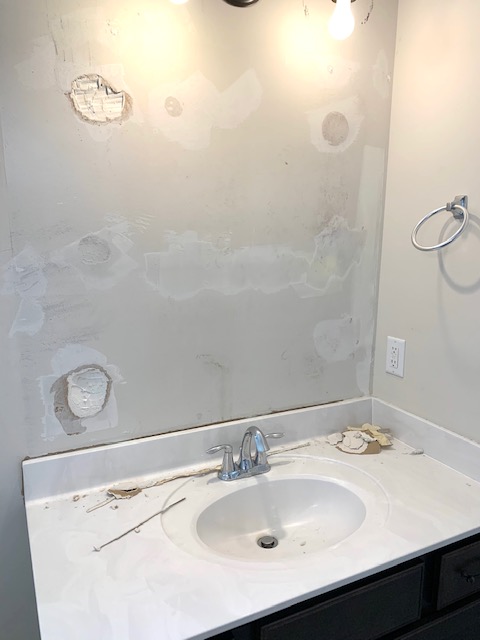
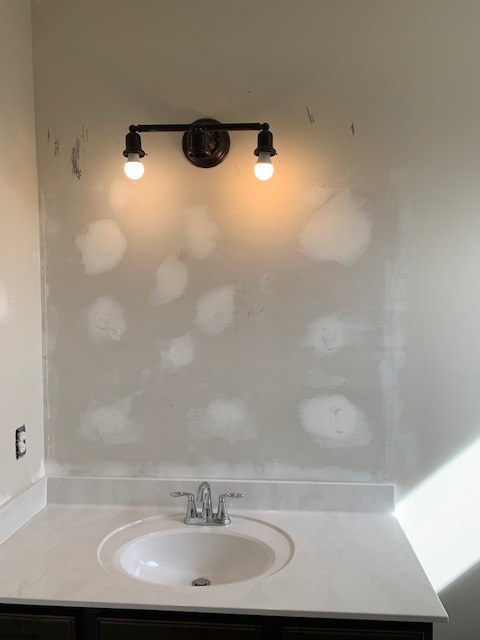
7~ Once you have your mirror down, you will then need to do some drywall repair with mudding & sanding. Feel free to repurpose your mirror or donate to Habitat for Humanity.
***** Please note, if your mirror is any thinner than 1/4″, the likelihood of it breaking is much higher.

The information and other content provided in this blog, or in any linked materials, are not intended and should not be construed as medical advice, nor is the information a substitute for professional medical expertise or treatment. You should always consult with a physician prior to starting any therapy or device.
This blog post contains affiliate links. In many cases I earn a small commission for referring business to certain websites I am affiliated with. This is at no cost to you. I will only recommend products & services that I personally use and love. I sincerely appreciate your support, as it helps me to bring the best content to www.UpliftedBeauty.com. Thank you for visiting, Erin

